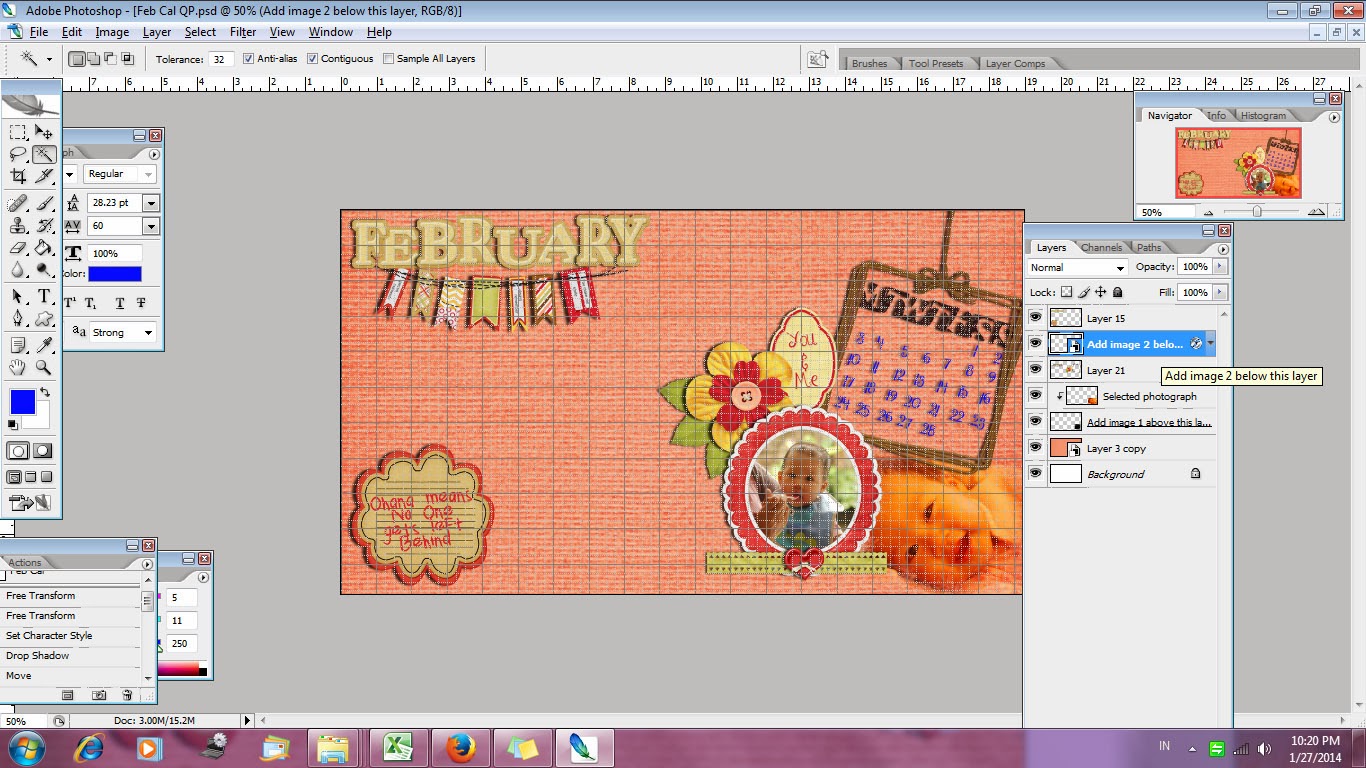
I always love Chinese New Year, not only because it's a day off from work, but I always feel that CNY is a new year celebration with edge. If you always have red, green and white for X'Mas, then CNY is always filled with bright red, gold, dragons and magpies.
This year, just a day before CNY, I join a contest at digiscrap designer Hat of Bunny FB, and luckily I won this beautiful kit that is just perfect to celebrate CNY.
So went straight ahead to my laptop, and try it on. Tada!! my li'l baby waving her first ang pao!
 And to make it complete, I decided to make a show in the kitchen today. I bought this simple easy recipe book from Periplus a week before. It's called "The Hungry Student Cookbook", by the title you could say it contains a variety of easy breezy cheap western recipes, made with the most common ingredients with most common kitchen tools. What caught my eye is the Jacket Potatoes recipes. I LOVE Jacket Potatoes!! I remember going to Wendy's just to eat their cheese & broccoli baked potato. Now with the book, I can try to made my own. Here's a copy of the recipe if you'd like to try it out:
Jacket Potato
Ingredients
1 big baking potato
How to
Since I don't have an oven, I use the microwave to bake the potato. First wash your potato well and dry thoroughly. Prick the potato with a sharp knife 5 to 6 times all over to prevent the potato explode inside the microwave. Place the potato in a microwaveable plate. Cook on high for about 4 minutes. Turn the potato over and cook it again on high for another 2 minutes. Stick a sharp knife to the potato to check if it's done cooking. When it's cooked enough the knife would easily slip through the potato. If it's not done, cook again on high for another 2 minutes. Serve immediately with the topping
For the topping
Ingredients
100g raw tenderloin (or any other steak meat you like)
Olive oil
1/2 Onion peeled and sliced
Salt & Pepper
Broccoli simmered for few seconds
How to
Cut the tenderloin into thin strips then season with salt & pepper. Drizzle the pan with olive oil and cook the onion with medium heat until it's translucent. Put in the tenderloin into the pan, and cook until the steak is as you like it. For me it took only about 3 - 4 minutes to have it cook through but not overcooked so you can still find it juicy.
Set up your plate
Cut open the jacket potato, topped it with the steak & onion. Arrange the broccoli around the potato.
Voila! Here's your jacket potato with steak!


